Imagine a steak rub so vibrant, a bowl of popcorn so savory, or a roasted chicken so aromatic, that every bite sings with pure, unadulterated garlic flavor. Now, imagine achieving this with a simple, homemade seasoning that puts every store-bought version to shame. If you’ve ever reached for a shaker of garlic salt, only to be met with a dull, dusty taste or an overpowering brininess, you know the frustration. It’s a common culinary dilemma that nearly derails many a recipe.
The good news? The solution isn't just about using fresh garlic; it's about unlocking its true potential through a technique that transforms it from a humble clove into a flavor powerhouse. The secret, often overlooked, lies in a precise "low-and-slow" drying process. This method, a departure from the harsh, high-heat approach of commercial production, is the cornerstone of creating the most exquisite homemade garlic salt you’ll ever taste.
The Culinary Catastrophe of Store-Bought Garlic Salt (and Why Homemade Wins)
For years, many of us have settled for what the supermarket offers, believing that garlic salt is just… garlic salt. Yet, a closer inspection (or, more accurately, a closer sniff and taste) reveals a stark reality. Store-bought versions often suffer from a host of issues that compromise their flavor and quality. They can be overwhelmingly salty, masking any real garlic essence. The garlic itself often tastes stale, almost chemically, as if it underwent some harsh processing that stripped it of its vibrant character.
Beyond the taste, commercial garlic salts frequently contain undesirable additives. Anti-caking agents, sugars, and "natural flavors" (which can be anything but natural) are common culprits. These ingredients might prevent clumping or extend shelf life, but they come at the expense of purity and taste. You’re left with a product that feels more like a science experiment than a genuine culinary enhancer.
This is where homemade garlic salt truly shines. By making it yourself, you regain complete control over the ingredients, ensuring only the freshest garlic and the cleanest salt make it into your blend. The result? A seasoning that bursts with bright, pungent garlic notes, perfectly balanced by the salt, and completely free of questionable additives. It's a noticeable upgrade that, as many home cooks discover through a simple side-by-side tasting, truly passes the test with flying colors. If you’re ready to unlock pure flavor and make garlic salt better than any store brand, read on.
The Unveiling of the Secret: Low-and-Slow Drying
The true magic behind exceptional homemade garlic salt isn't merely the act of combining garlic and salt; it's the meticulous process of drying the garlic itself. This is where the "low-and-slow" method emerges as the undisputed champion. Unlike high-heat drying, which can toast garlic, causing it to lose its vibrant allicin compounds and develop a bitter, flat flavor, gentle dehydration at a lower temperature preserves the garlic's integrity.
When garlic is exposed to excessive heat, its delicate essential oils and aromatic compounds can degrade rapidly. This leads to that "stale, dusty" flavor often associated with subpar garlic products. The low-and-slow approach, typically achieved in a low-temperature oven or a dehydrator, carefully removes moisture without shocking the garlic. This gradual evaporation locks in the bright, pungent essence that fresh garlic is known for. It ensures that when you finally grind and combine it with salt, you're unleashing a concentrated burst of pure garlic flavor, not a muted, compromised version. This simple yet profound switch in technique is what elevates homemade garlic salt from good to utterly extraordinary, allowing the garlic's true character to shine through.
Crafting Your Perfect Batch: A Step-by-Step Guide to Homemade Garlic Salt
Embarking on the journey to create your own homemade garlic salt is a rewarding endeavor. Follow these steps meticulously, paying special attention to the details, and you’ll be rewarded with a superior seasoning.
Choosing Your Ingredients Wisely
- Garlic: Start with the best. Opt for firm, fresh garlic heads. Avoid the pre-peeled cloves sold in tubs, as these often lack the robust flavor and freshness needed for a truly exceptional garlic salt. Freshness here directly translates to vibrancy in your final product.
- Salt: The type of salt you choose is equally critical. Coarse Kosher salt or sea salt are ideal. Their larger crystal structure provides a better texture and a cleaner, more nuanced salty flavor. Crucially, steer clear of standard iodized table salt. It typically contains anti-caking agents that can impart an off-flavor and, paradoxically, contribute to clumping in your homemade blend.
Preparation is Key
- Peel and Mince: Separate the garlic cloves from the heads and carefully peel them. Now, it's time to mince. You can use a sharp knife for a traditional approach, aiming for a very fine mince. Alternatively, a small food processor or mini chopper works wonders. Pulse the cloves until they resemble coarse sand. The key is to achieve a fine, uniform texture without turning it into a wet paste, which can make drying difficult and inconsistent.
The Drying Process (The Heart of the Secret)
- Preheat Your Oven: Set your oven to its absolute lowest possible temperature, typically ranging from 150-170°F (65-75°C). This ultra-low heat is essential for the "low-and-slow" dehydration.
- Spread Evenly: Line a baking sheet with parchment paper. Spread the finely minced garlic in a thin, even layer across the parchment. Avoid piling it up, as this will prevent uniform drying.
- Dehydrate: Place the baking sheet in the preheated oven. Allow the garlic to dry for approximately 1.5 to 2.5 hours. During this time, it's vital to stir the garlic every 30 minutes. This ensures that all surfaces are exposed to the warm air, promoting even drying and preventing any hotspots.
- Test for Doneness: The garlic is ready when it is completely dry, hard, and brittle to the touch. It should snap or crumble easily, not bend. This is perhaps the most crucial step; any residual moisture will inevitably lead to clumping and can even spoil your homemade garlic salt.
The Crucial Cool-Down
- Cool Completely: Once the garlic is perfectly dry, remove it from the oven and let it cool completely on the baking sheet. This step is non-negotiable! Allow at least 30 minutes, or even longer, for it to reach room temperature. This is the "Cool Down Rule." Grinding warm garlic creates steam, introducing moisture back into the blend, which will cause your beautiful homemade garlic salt to solidify into a frustrating, unusable brick within days. To stop clumping and craft your own healthy, flavorful garlic salt, don't skip this.
Grinding for Greatness
- Grind Your Garlic: Transfer the cooled, dried garlic to a spice grinder, a clean coffee grinder (dedicated solely to spices is best!), or a traditional mortar and pestle. Pulse or grind until you achieve your desired consistency. For a coarser, more rustic blend perfect for rubs or finishing dishes, grind less. For a finer, powder-like salt that dissolves easily into sauces and soups, grind longer until it’s a fine powder.
The Perfect Blend & Storage
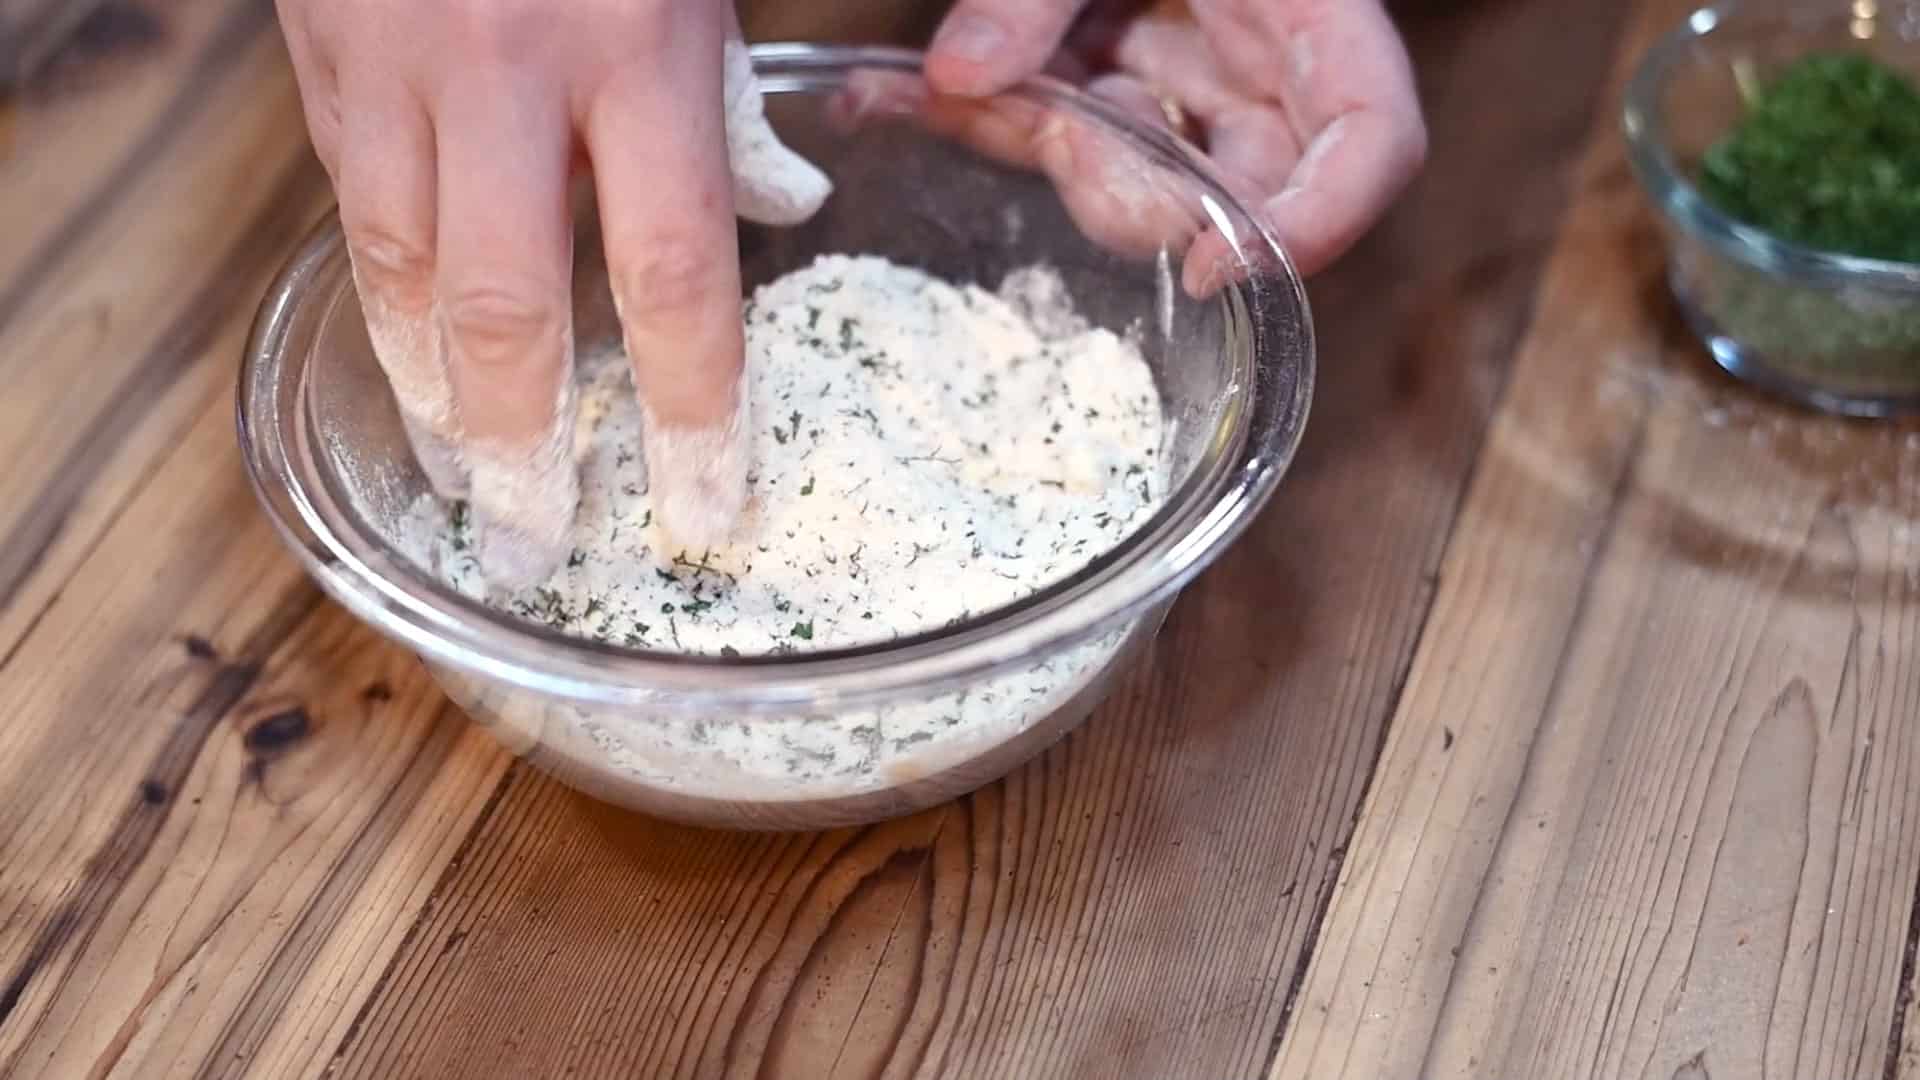
- Combine with Salt: In a small bowl, combine the freshly ground dried garlic with your chosen coarse salt. A classic starting ratio is 1 part dried garlic to 3 parts salt by volume, but this is your seasoning – feel free to adjust to your personal taste preferences. Mix thoroughly to ensure an even distribution.
- Store Properly: Transfer your glorious homemade garlic salt to an airtight jar or spice container. Store it in a cool, dark place, away from direct sunlight and humidity, to maintain its potency and freshness for months.
Beyond the Basics: Elevating Your Culinary Creations with Homemade Garlic Salt
With your fresh batch of homemade garlic salt ready, the culinary possibilities are endless. Forget merely seasoning meats; this powerhouse blend is versatile enough to elevate almost any dish. Sprinkle it on freshly popped popcorn for an irresistible savory snack. Rub it generously onto prime rib, chicken, or pork before roasting or grilling for unparalleled depth of flavor. Whisk it into scrambled eggs or sprinkle it over avocado toast for a morning boost. Roasted vegetables like potatoes, broccoli, or asparagus are transformed by its aromatic embrace.
Consider incorporating it into marinades for an instant upgrade, or stir a pinch into homemade soups and sauces to infuse them with rich garlic notes without the fuss of mincing fresh cloves. It's also fantastic mixed into softened butter for a quick garlic bread spread or as a seasoning for homemade croutons. Once you experience the vibrant, pure flavor of your own homemade garlic salt, you'll find yourself reaching for it constantly, experimenting with new ways to bring that bright, savory essence to every meal.
Making your own homemade garlic salt is more than just a recipe; it's a revelation. It transforms a common pantry staple into a gourmet ingredient, brimming with pure, unadulterated garlic flavor. By embracing the low-and-slow drying technique, carefully selecting your ingredients, and adhering to the crucial cool-down rule, you’ll craft a seasoning that will forever change your cooking. Say goodbye to stale, dusty store-bought versions and hello to a world where every pinch of garlic salt delivers a vibrant, aromatic punch. Once you’ve tasted the difference, you'll never look back.
